🥑 The Perfect Starter Food: Our 3-Way Avocado Prep Method for Baby-Led Weaning
- Charlotte

- Dec 30, 2025
- 3 min read
When you start the solids journey, the stress of choosing the first food is real. Thankfully, Mother Nature has gifted us the perfect starter: the Avocado.
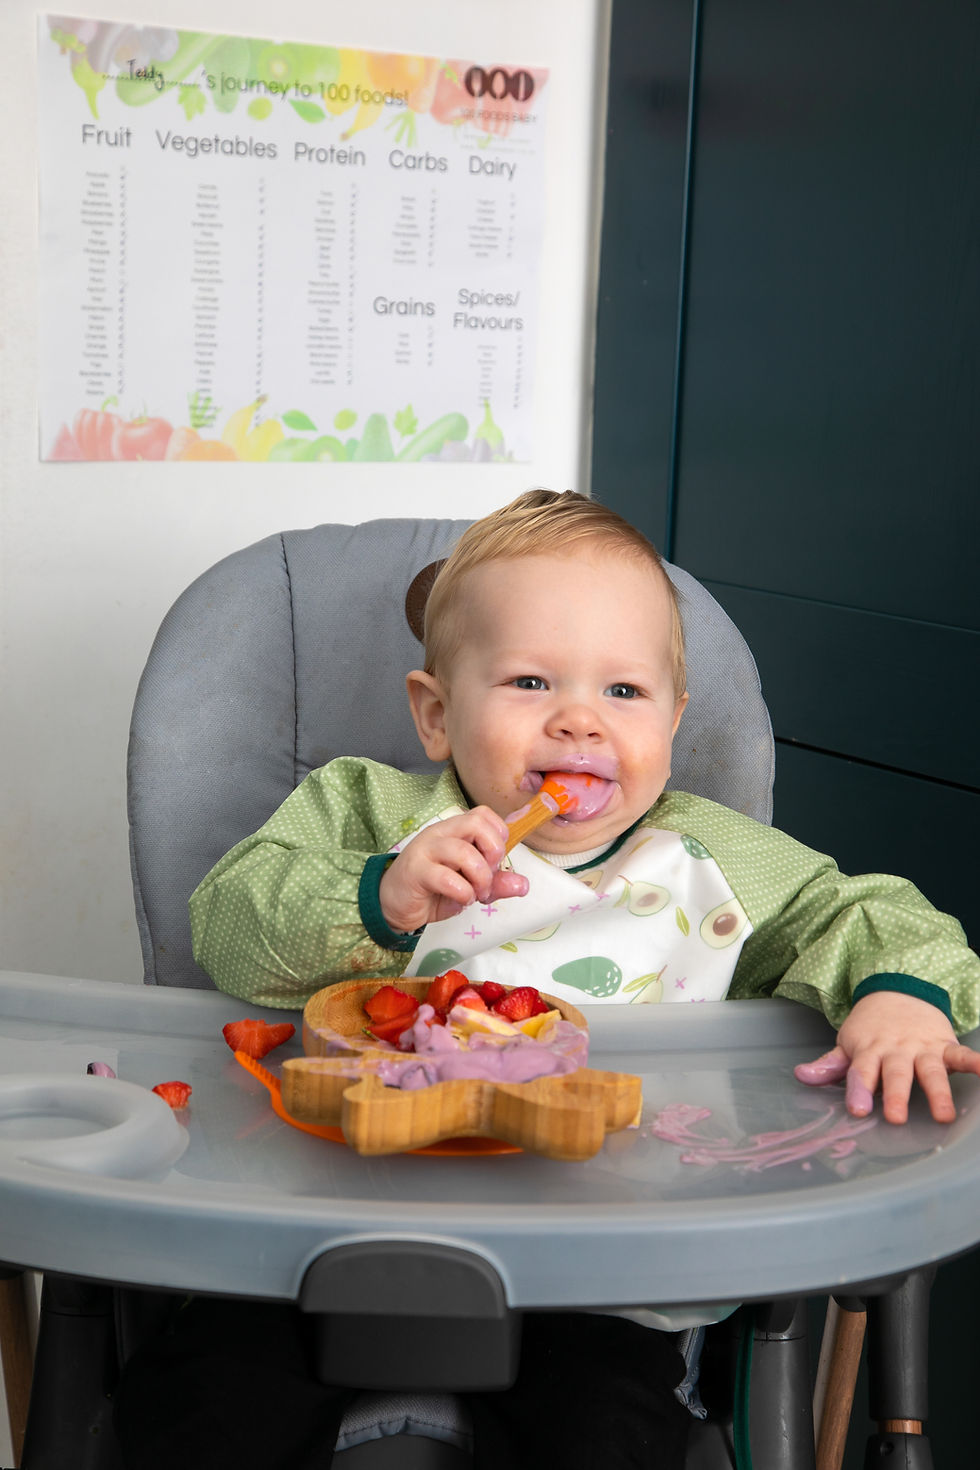
It's packed with healthy fats for brain development, soft enough not to pose a major choking risk, and almost universally loved. It’s a core food in our 100 Foods Baby philosophy and often the very first "food" we recommend.
But how do you serve it safely and effectively for a baby just starting out?
Forget the slippery, hard-to-grip mush. Below is our tried-and-tested 3-Way Avocado Prep Method, specifically designed for various stages of baby-led weaning (BLW).
💡 The Key Challenge: Slippery Avocado
The biggest problem with avocado is that it’s inherently creamy, which makes it incredibly difficult for a 6-month-old (who hasn't developed their pincer grasp) to hold.
Our secret? The Anti-Slip Grip.
Method 1: The Starter Strip (6–7 Months)
This is the ultimate introductory shape for babies just mastering the palmar (raking) grasp.
🔪 How to Prep the Strip
1. Choose Your Avocado: Look for a ripe, Hass avocado that yields gently to pressure but isn't mushy.
2. Cut: Slice the avocado into strips that are about the size and shape of your adult pinky finger - long, thick, and easy to grab.
3. The Anti-Slip Grip: Lightly coat the avocado strip in finely ground flaxseed, nutritional yeast, or hemp hearts. This acts like edible sandpaper, giving your baby’s fist something to hold onto without slipping.
4. Serve: Place one or two strips on the highchair tray. Your baby will hold the strip in their fist, leaving the bottom portion exposed for them to gnaw on.
Pro Tip: Coating the avocado in something nutritious helps add a bonus food (like a seed or grain) to your 100 Foods Baby list without extra effort!
Method 2: The Fork-Loaded Mash (7–9 Months)
As babies become slightly more competent and start moving food towards their mouth with their whole hand, you can transition to a thicker texture. This is also great for dipping!
🥄 How to Prep the Mash
1. Texture: Use a fork to mash the avocado, aiming for a lumpy, spreadable consistency-do not blend it into a smooth puree. The lumps are important for developing chewing skills.
2. Flavour Boost: Mix in a small amount of full-fat yoghurt or a spice like a tiny pinch of cinnamon or paprika. This is a great way to introduce new flavours alongside a safe base.
3. Serve:
• Option A (Pre-loaded Spoon/Fork): Load a baby-safe fork or spoon with a little mash and hand it to your baby.
• Option B (Dipping): Spread the mash on a piece of lightly toasted, thin bread or a flatbread cut into baby-safe strips. This gives the baby a sturdy handle for dipping.
Method 3: The Tiny Cube (9+ Months)
Once your baby develops the pincer grasp (the ability to pick up small objects using their thumb and index finger), you can start downsizing the pieces.
🎲 How to Prep the Cube
1. Cut: Cut the avocado into pea-sized cubes. They should still be large enough that if swallowed whole, they pose no choking risk (soft foods are not a hazard, but tiny hard pieces are).
2. The Coating is Crucial: For cubes, the anti-slip coating is absolutely essential. Roll them in ground nuts (if nuts have been safely introduced) or finely crushed freeze-dried strawberries for a bit of flavour.
3. Serve: Place a few cubes directly onto the highchair tray. Watching them concentrate on picking up the small pieces is a fun milestone!
Food Pairing Idea: Making Avocado Even Better
• Pairing: Mix avocado mash with a tiny spoonful of black bean puree for protein and iron.
• Pairing: Spread Method 2 mash onto a strip of omelette (well-cooked egg) for an easy protein-and-fat-filled meal.
This simple, versatile food is your best friend in the first few weeks. Enjoy the green, messy fun!
Did this prep method help? Let us know in the comments below which coating you tried and how your baby reacted!

Comments